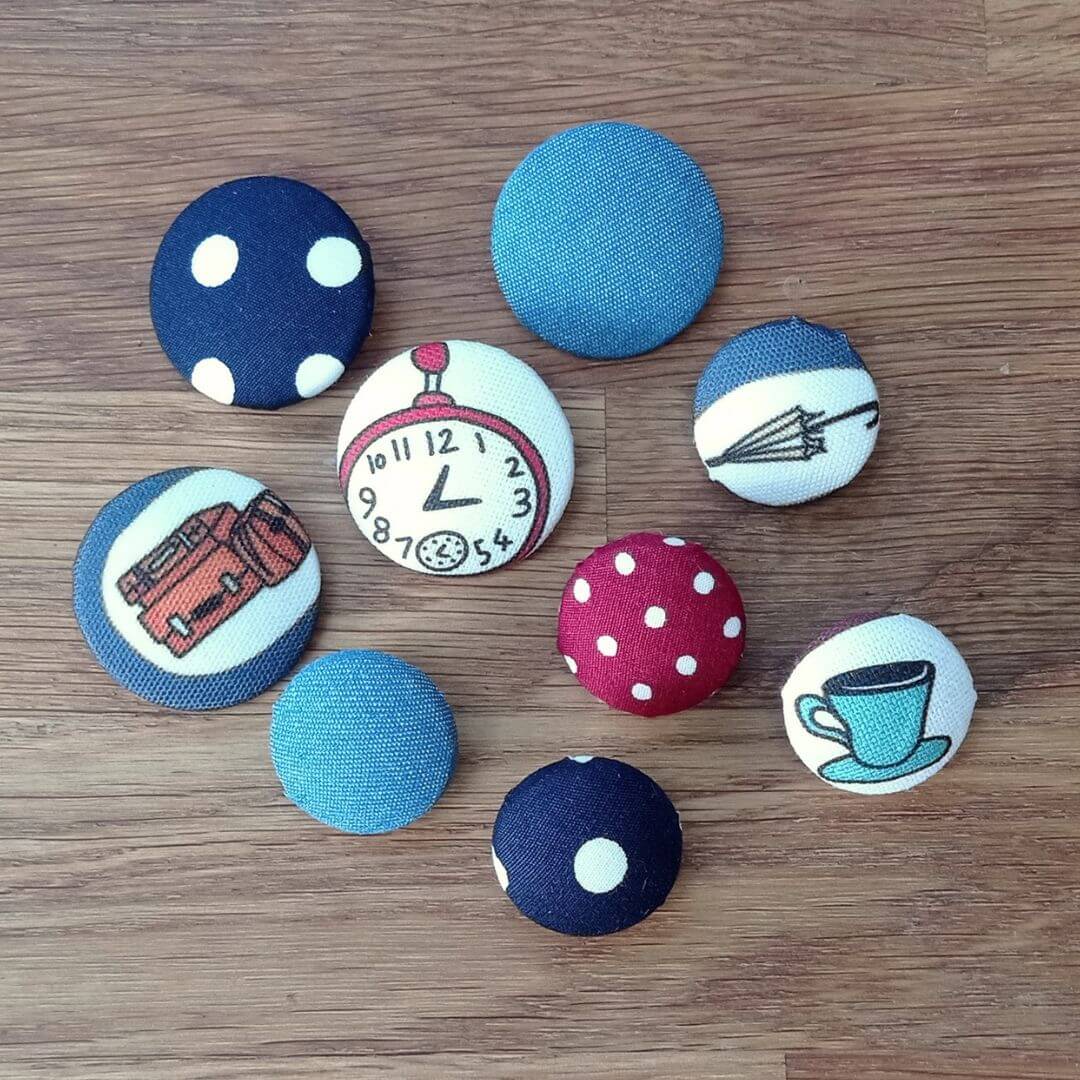
A button that’s sewn flat against the fabric is hard to do up, pulls the fabric and soon works loose. The trick is a thread shank: a little stalk of thread under the button that gives the buttonhole room to sit underneath. It only takes a minute longer, and your buttons will stay on.
What you need
- Your button.
- A hand-sewing needle and strong thread in a matching colour.
- A pin or a cocktail stick.
- Chalk or a pin to mark where the button goes.
How to sew on a button
- Thread the needle with a double thread and knot the end.
- Mark where the button goes with chalk or a pin.
- Start on the right side of the fabric, where the button will sit, so the knot is hidden under the button.
- Lay a pin or cocktail stick across the top of the button. Sew up and down through the holes and over the pin, 5 or 6 times.
- Take out the pin and lift the button up, so there is a little space under it.
- Bring the needle out under the button and wrap the thread round the stitches 5 or 6 times. This makes the thread shank.
- Push the needle through to the back of the fabric. Sew 3 small stitches on the spot and knot the thread.
Top tips
- Buttons with a shank (a tab with a hole underneath) already have their own stalk, so you don’t need the pin. Just sew through the hole in the shank.
- On a coat or thick fabric, use a cocktail stick instead of a pin to make a longer shank.
- Line the button up with the buttonhole before you mark it, so the two edges sit straight when you do it up.
New to hand-sewing? See the hand stitches in types of sewing stitches, or make your own fabric-covered buttons.
Learn to sew with Nanna Betty
Nanna Betty Sewing School teaches you one skill at a time, with simple sewing cards and short videos for your phone. Every make takes 2 hours or less, and it’s all free.